

Overview
We will be building a full-fledged school management system and deploying it to the web. We will be starting from scratch and gradually building up on the foundation of our Django knowledge. There will be a proper explanation for every code block that we write. Let us first list all functionalities that we will be having in our school management system. Managing
Student records
Teacher records
Attendance records
Subjects
academic reports/performance
Prerequisites
Text editor/ IDE (Pycharm or VS code or any other you like)
Installed Python 3 interpreter
Familiarity with Python 3
For creating templates
HTML
CSS
Javascript
Setting up a virtual environment
Before starting with the project we need to create a virtual environment where all the modules and packages we need will be saved. The virtual environment is very useful for development it helps to avoid problems with package version compatibility.
Create a new folder and open it in your text editor
Open integrated terminal in it. For VS code you can press
CTRL + Shift + `
To create a virtual environment on Linux / Mac system enter the following command
# python3 -m venv <name of virtual environment>
python3 -m venv env

# Activating your newly created virtual environment
source env/bin/activate
After activating the virtual environment the terminal prompt will look something like this

Now we need to add some packages that we need to start our Django project. In the terminal type either of the following command.
# Adding Django to the virtual environment
pip3 install django
# or
pip install django
Starting a new Django project
To start a new Django project we will use django-admin CLI tool. Enter the following command to start a new Django project.
django-admin startproject core .
Pay attention to the trailing (.). This trailing " . " will start a new Django project in the current directory. If you omit the period in the end. It will create a new folder named core and then inside it will start a new project.
What do these files do?
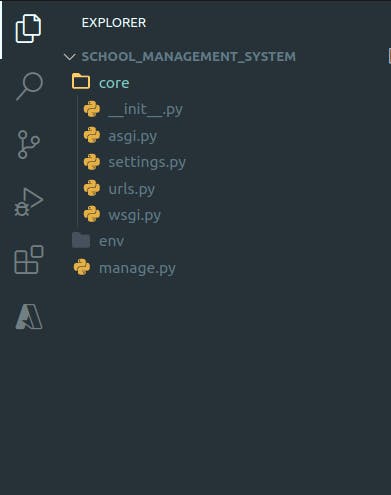
core/__init__.pyThis file makes the Python interpreter treat the directory as a python module.
core/asgi.pyandcore/wsgi.pyThese files are used by the application server to communicate with the Django application.
core/settings.pyThis file contains very important configurations of our Django application including secret key, static files settings, database configurations, and much more.
core/urls.pyThis file contains the root URLs of your Django project. Here we define the path for various Django apps.
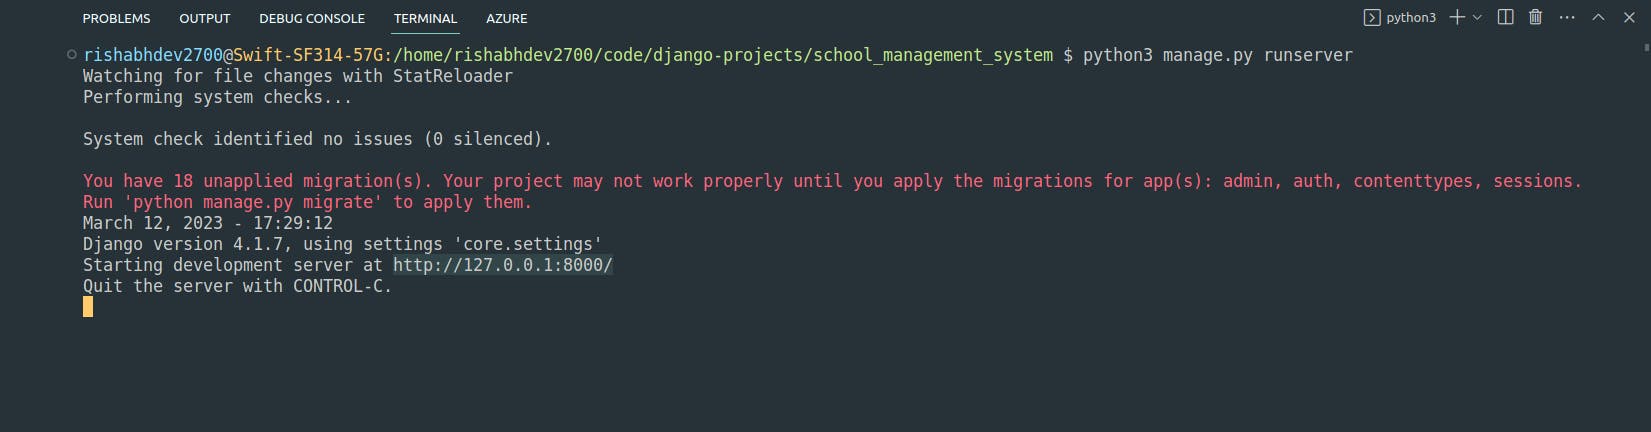
Try running the project
Start the development server using the following command
python manage.py runserver
# or
python3 manage.py runserver
Now open up the link in your browser
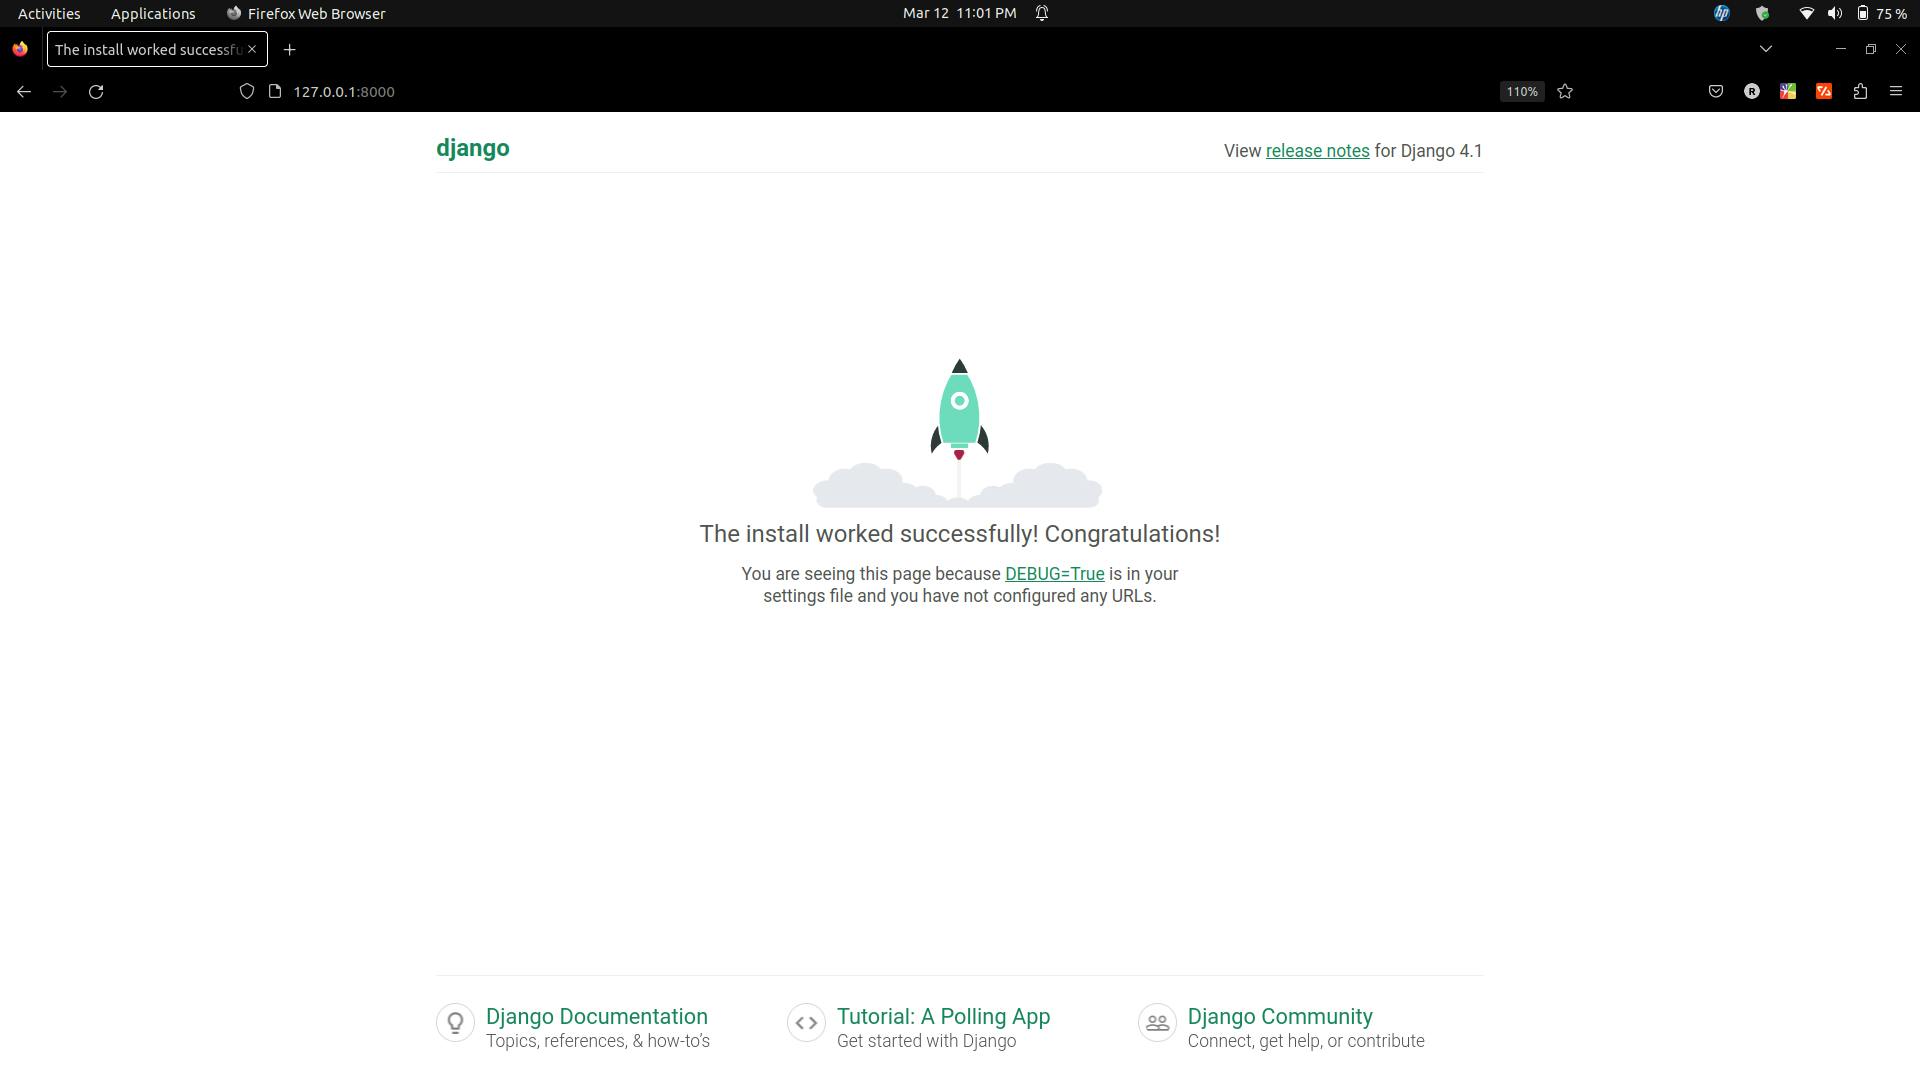
To stop the development server press CTRL + C
In the next part, we will be creating a new application that will handle the authentication and authorization of our Django project.